Easy Homemade Chocolate-Covered Ice Cream Bars
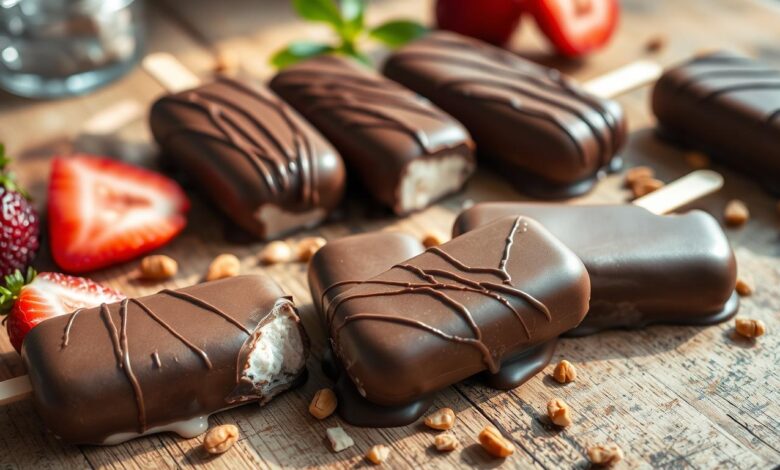
Summer days are perfect for indulging in frozen treats. Homemade chocolate-covered ice cream bars are a delight. As a kid, I loved unwrapping them and tasting the chocolate and ice cream mix. It was irresistible.
Now, as an adult, making these treats at home is a joy. I’m excited to share this joy with you.
Making your own chocolate-covered ice cream bars is easy and fun. You can customize them to your liking. Imagine making them for a summer party. With just a few ingredients and some creativity, you can make these treats even more special.
Key Takeaways
- Homemade chocolate-covered ice cream bars are a delightful summer treat.
- The process is surprisingly simple and offers endless customization possibilities.
- Crafting these frozen treats at home allows you to control the quality and flavors.
- Enjoy the satisfaction of creating a classic treat with a personalized twist.
- Homemade ice cream bars are a crowd-pleasing dessert for any summer gathering.
Why Make Your Own Chocolate-Covered Ice Cream Bars at Home
Indulging in homemade chocolate-covered ice cream bars is a treat like no other. They’re a guilt-free option compared to store-bought ones. Plus, you get to create your own flavors, making it a fun and personal experience.
Health Benefits of Homemade vs. Store-Bought
Making your own guilt-free desserts lets you choose the ingredients. This means you can avoid artificial additives and preservatives found in many commercial bars. You can use natural ingredients that are better for your body.
Cost-Effectiveness of DIY Ice Cream Bars
Creating your own chocolate-covered ice cream bars can save you money. The cost of ingredients like cream, milk, and chocolate is often lower than store-bought bars. Plus, you get to enjoy a dessert that’s tailored to your taste, making it a rewarding experience.
Customization Possibilities
One of the best things about making your own customizable flavors is trying new combinations. You can go for classic chocolate or try something like caramel or fruit-based ice cream. You can even add nuts, cookies, or candy pieces to make it unique.
Let your creativity shine by making your own chocolate-covered ice cream bars. You’ll have control over the ingredients, save money, and make treats that are all your own. Say goodbye to store-bought options and enjoy the homemade route.
Essential Ingredients and Equipment Needed
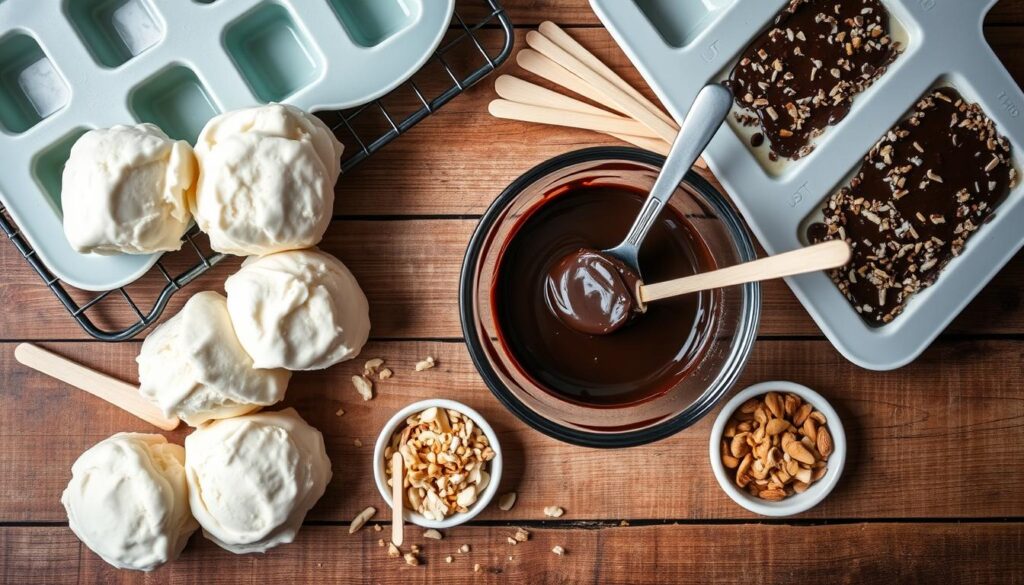
Making delicious no-bake chocolate-covered ice cream bars is easy and fun. You’ll need a few key ingredients and tools to start. Let’s look at what you need to make these tasty desserts.
Ingredients for Homemade Indulgence
- Your favorite no-bake recipes for ice cream – whether it’s a classic vanilla, rich chocolate, or a unique flavor that catches your eye.
- High-quality chocolate, either milk, dark, or a blend, for the coating.
- Optional toppings and mix-ins like sprinkles, chopped nuts, crushed cookies, or a drizzle of caramel or chocolate sauce to elevate your easy recipes.
Essential Equipment for Easy Recipes
- Ice cream molds or popsicle sticks to shape your homemade indulgence.
- A double boiler or microwave-safe bowl for melting the chocolate coating.
- Dipping tools like forks or spoons to submerge the ice cream bars in the chocolate.
- Parchment paper or a silicone baking mat to line your work surface for easy removal and cleanup.
- Airtight containers or freezer-safe bags to store your masterpieces.
With these ingredients and tools, you’re set to make delicious no-bake chocolate-covered ice cream bars. Enjoy making these treats in your kitchen!
Perfect Ice Cream Base Selection and Preparation
Creating homemade chocolate-covered ice cream bars starts with a solid base. You can go for a no-churn ice cream recipe or use a store-bought pint. The goal is to make the creamiest, most family-friendly snacks you can imagine.
No-Churn Ice Cream Options
No-churn ice cream is easy to make. It needs just a few ingredients: heavy cream, sweetened condensed milk, and flavorings. This method makes a rich, no-churn ice cream perfect for dipping in chocolate.
Store-Bought Ice Cream Tips
Store-bought ice cream can save you time. Choose high-quality pints that are dense and creamy. Avoid ice creams with too much air or that melt fast, as they won’t work well for chocolate-covered bars.
Flavoring Your Base
Get creative with your ice cream base. Try vanilla, chocolate, or even salted caramel. Use extracts, spices, or melted chocolate to make family-friendly snacks that taste amazing.
| Ice Cream Base | Flavor Inspirations |
|---|---|
| No-Churn Ice Cream | Vanilla, Chocolate, Strawberry, Mint Chip, Cookies and Cream |
| Store-Bought Ice Cream | Salted Caramel, Coffee, Peanut Butter, Moose Tracks, Butter Pecan |
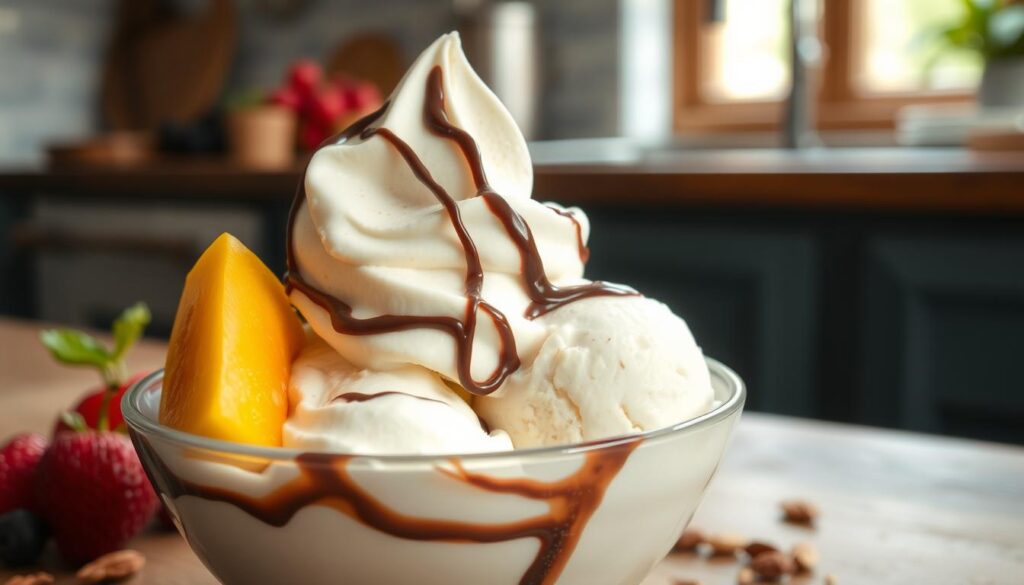
With the right ice cream base, you’re ready to make delicious chocolate-covered ice cream bars. Your family and friends will love them.
Mastering the Chocolate Coating Technique
Making perfect chocolate coating is key to tasty chocolate-dipped ice cream bars at home. You can choose from rich dark chocolate or smooth milk chocolate. Learning to dip chocolate is crucial for anyone who loves easy dessert recipes.
Start by picking the best chocolate. Look for chocolate with at least 60% cocoa for deep flavor and a shiny finish. Don’t use chocolate chips because they have additives that mess up melting and dipping.
To melt chocolate right, use a double boiler or the microwave. Keep the temperature between 88°F and 92°F. If it’s too hot, the chocolate gets thick. If it’s too cold, it thickens and loses its smoothness.
- Line a work surface with parchment paper or a silicone mat.
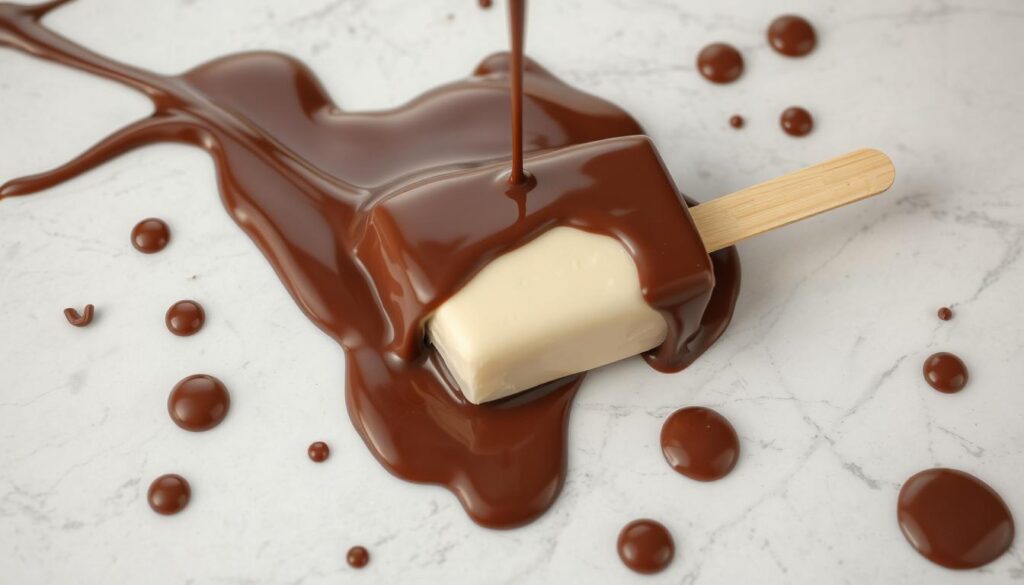
- Dip each frozen ice cream bar into the melted chocolate, making sure all sides are covered.
- Tap off extra chocolate and set the bars on the prepared surface.
With practice, you’ll get a chocolate coating that looks like it came from a pro. Enjoy trying different chocolates and flavors.
“The secret to a great chocolate-covered ice cream bar is all in the chocolate dipping technique.”
Step-by-Step Guide to Homemade Chocolate-Covered Ice Cream Bars
Making your own ice cream bars at home is simple. Follow our guide to make chocolate-coated treats that will wow you this summer. These homemade bars are perfect for any summer dessert or make-ahead treat.
Molding and Freezing
Choose your ice cream base, like a no-churn recipe or store-bought. Pour it into silicone molds or an ice cube tray, leaving space for chocolate. Freeze until firm, about 4-6 hours or overnight.
Dipping Process
- Melt high-quality chocolate in a double boiler or microwave, stirring until smooth.
- Remove frozen ice cream bars from molds. Dip each in melted chocolate, ensuring full coverage.
- Let excess chocolate drip off. Place coated bars on a parchment-lined baking sheet or wire rack to set.
Setting and Storage
Freeze the chocolate-dipped bars for at least an hour, or until chocolate hardens. Store them in an airtight container in the freezer for up to 2 months. They’re great for a make-ahead dessert.
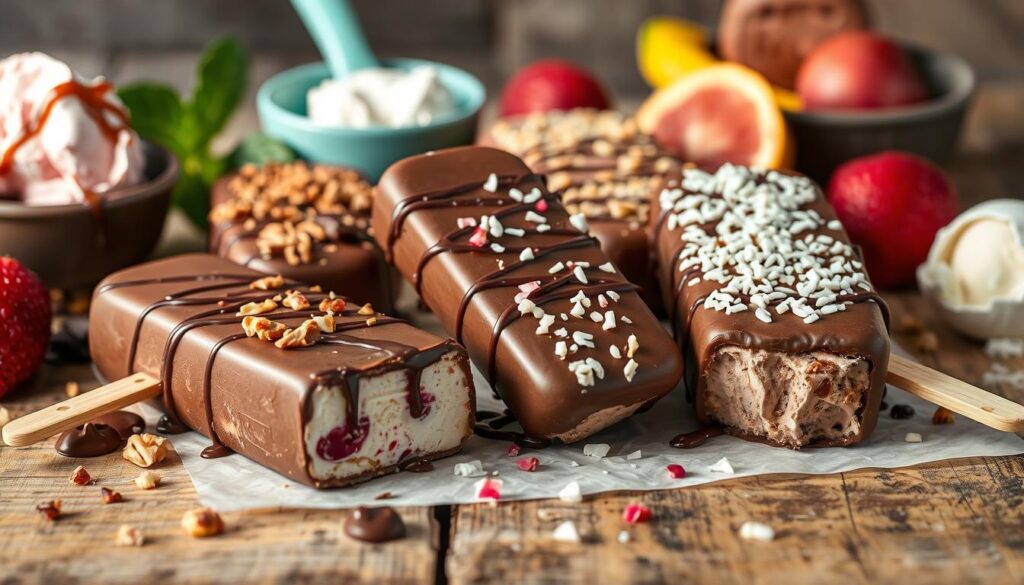
Follow these steps to enjoy homemade chocolate-covered ice cream bars. Get creative with flavors and toppings. Enjoy this easy summer dessert and the joy of making your own treats.
Creative Topping Ideas and Variations
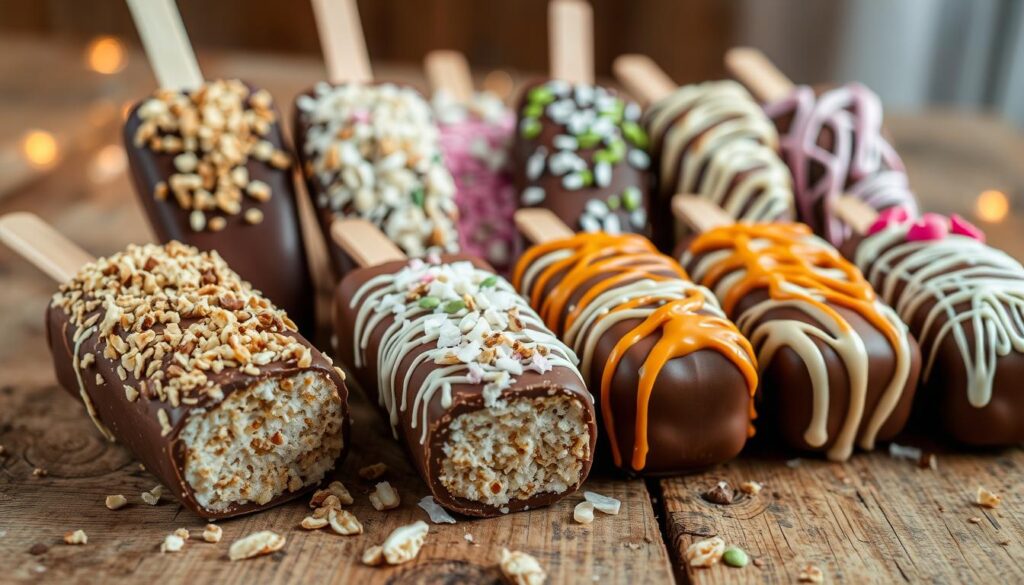
Make your homemade chocolate-covered ice cream bars even better with fun toppings and flavors. You can use everything from crunchy nuts to colorful sprinkles. This lets you make these treats truly special and fun for your family.
Try adding nuts like almonds, peanuts, or pecans for a nice crunch. Toasted coconut flakes bring a tropical flavor. For extra color and texture, add rainbow sprinkles, crushed graham crackers, or crumbled cookies.
- Chopped almonds, peanuts, or pecans
- Toasted coconut flakes
- Rainbow sprinkles
- Crushed graham crackers
- Crumbled cookies
Experiment with different flavors by adding caramel swirls, chocolate sauce drizzles, or cinnamon dust. You can mix and match to create unique treats that will excite your taste buds.
| Topping | Flavor Profile | Texture |
|---|---|---|
| Chopped nuts | Nutty, rich | Crunchy |
| Toasted coconut | Tropical, sweet | Chewy, crisp |
| Sprinkles | Vibrant, colorful | Soft, crunchy |
| Crushed cookies | Indulgent, sweet | Crumbly, crunchy |
| Caramel drizzle | Caramelized, gooey | Smooth, sticky |
Let your creativity shine and follow your taste buds when making these treats. With so many options, you can make your chocolate-covered ice cream bars truly unique and loved by your family.
Troubleshooting Common Issues
Making homemade frozen treats like chocolate-covered ice cream bars is rewarding but can be tricky. Don’t worry, we’re here to help with common problems. We’ll give you practical solutions to make your sweets perfect every time.
Preventing Ice Crystal Formation
Ice crystal buildup is a big problem with homemade frozen treats. To avoid it, try these steps:
- Make sure your ice cream base is well-aerated before freezing
- Keep your bars in an airtight container to reduce air exposure
- Try not to open and close the freezer door too often to avoid temperature changes
Chocolate Coating Problems
Getting a smooth, glossy chocolate coating can be hard. Here are some tips to help you:
- Use top-quality chocolate for the best look and taste
- Temper the chocolate right to get the perfect consistency
- Dip the ice cream bars quickly to stop the chocolate from hardening too fast
Storage Solutions
Storing your desserts right is crucial. Here’s how to do it:
- Wrap each bar in plastic wrap or parchment paper to avoid freezer burn
- Put the wrapped bars in an airtight container or resealable bag in the freezer
- Eat your homemade treats within 2-3 months for the best taste and texture
By using these tips, you’ll make delicious and beautiful chocolate-covered ice cream bars. They’ll impress your family and friends. Enjoy your treats with confidence!
Make-Ahead Tips and Storage Guidelines
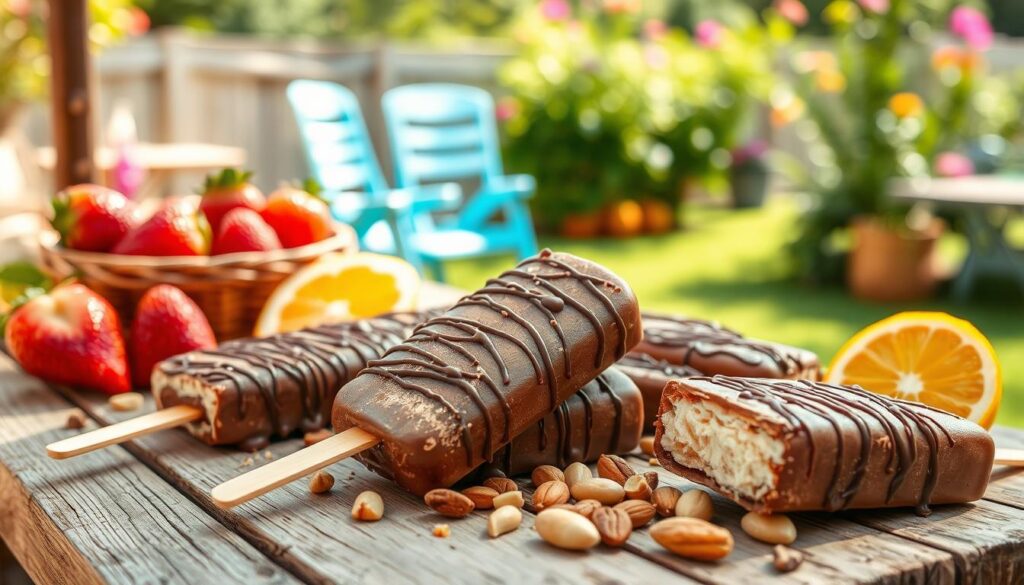
Homemade treats like our chocolate-covered ice cream bars need planning. We’ve got tips and guidelines to keep your treats fresh and tasty.
Freezing for the Future
These chocolate-dipped ice cream bars are perfect for hot summer days. Here’s how to prepare them ahead:
- Make your ice cream base and pour it into molds, leaving room for chocolate.
- Freeze the bars for 4-6 hours until solid.
- After freezing, dip the bars in chocolate and freeze again.
- Store them in airtight containers or bags in the freezer for up to 2 months.
Maintaining Quality
To keep your treats fresh, follow these storage tips:
- Wrap Them Well: Use plastic wrap or foil to prevent freezer burn.
- Maintain Consistent Temperature: Keep your freezer at 0°F (-18°C) to preserve texture.
- Thaw Gently: Let them thaw at room temperature for 5-10 minutes before serving.
With a bit of planning and these tips, enjoy homemade chocolate-covered ice cream bars all summer.
Kid-Friendly Decorating Ideas
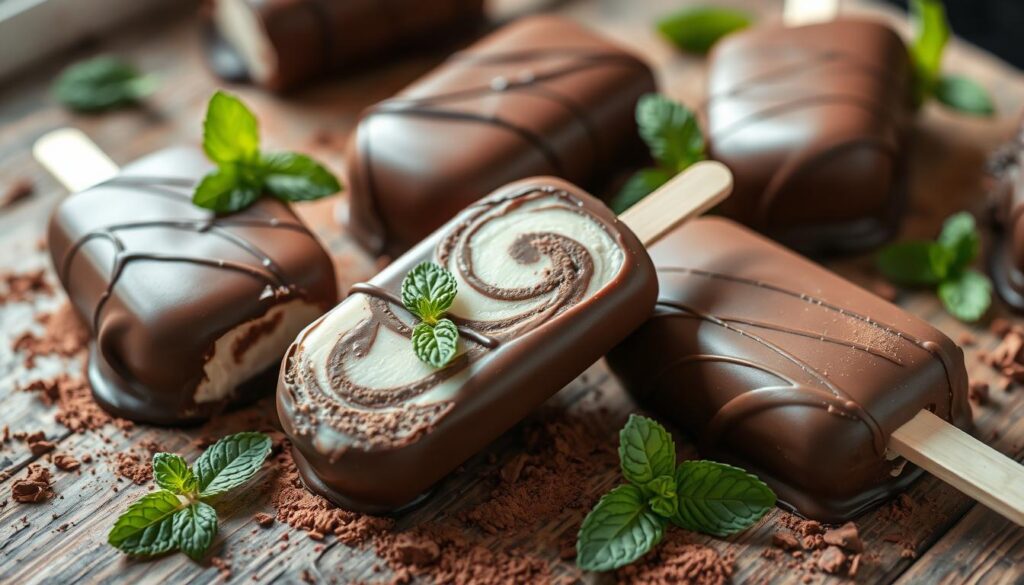
Making homemade chocolate-covered ice cream bars is a fun activity for kids. It lets them get creative and decorate these tasty treats. With kid-friendly recipes and family desserts, the decorating options are endless.
Encourage your kids to make their ice cream bars special with their favorite customizable flavors. They can add colorful sprinkles, chocolate syrup, or fresh fruit in fun patterns. Decorating together can make family time special and teach kids to love cooking.
For a memorable time, set up a decorating station with lots of edible decorations. Offer crushed cookies, mini marshmallows, or edible glitter for them to use. This way, they can make their own unique ice cream bars that everyone will enjoy.
FAQ
What are the benefits of making homemade chocolate-covered ice cream bars?
Making your own chocolate-covered ice cream bars at home has many perks. You get to pick the ingredients, making it a healthier, guilt-free treat. Plus, it’s cheaper and you can try out different flavors to your liking.
What essential ingredients and equipment do I need?
To make homemade chocolate-covered ice cream bars, you’ll need a few key things. You’ll need ice cream, chocolate for coating, and any toppings you like. You’ll also need molds, dipping tools, and containers to store them.
How do I achieve the perfect chocolate coating?
Getting the chocolate coating just right is key. Use the right chocolate, melt it correctly, and have a smooth dipping method. We’ll show you how to get a professional-looking coating every time.
Can I use store-bought ice cream for this recipe?
Yes, you can definitely use store-bought ice cream. We’ll give you tips on how to prepare and use it. This way, your homemade chocolate-covered bars will have the perfect texture and taste.
How do I prevent ice crystals and maintain quality during storage?
Keeping your chocolate-covered ice cream bars fresh is important. We’ll share tips on freezing, packaging, and storage. This way, you can enjoy them consistently and deliciously.
Can I make these bars in advance?
Yes, you can make these bars ahead of time. We’ll give you detailed instructions on how to do it. This way, your treats will stay fresh and ready to enjoy whenever you want.
How can I involve my kids in the process?
Getting your kids involved in making chocolate-covered ice cream bars is a great idea. We’ll suggest fun decorating ideas and activities. This will make the experience fun for the whole family.


