Perfect Chocolate Mirror Glaze for Show-Stopping Cakes
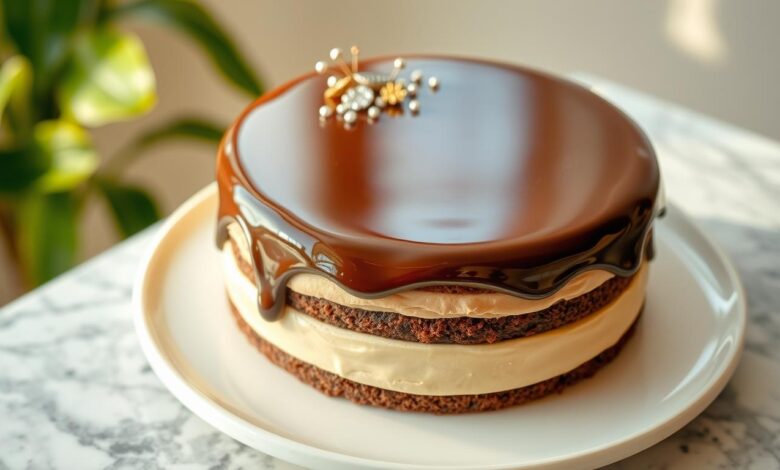
I love baking at home and always get excited about chocolate mirror glaze. It makes cakes look amazing. Today, I’m excited to share how to make your cakes look like they came from a bakery.
Learning about chocolate mirror glaze is fun and educational. You’ll learn about the science behind its shine and how to make it. This guide is for everyone, whether you’re new to baking or already love making desserts.
Key Takeaways
- Discover the science behind the mesmerizing shine of chocolate mirror glaze
- Understand the essential ingredients and tools required for creating the perfect mirror glaze
- Learn step-by-step instructions for crafting a professional-quality chocolate mirror glaze
- Explore techniques for achieving a flawless finish and troubleshooting common issues
- Unlock a world of creative possibilities with color and design variations
Understanding the Magic of Chocolate Mirror Glaze
Exploring the secrets of chocolate mirror glaze is a journey into baking techniques and glazing methods. It’s a world where the science behind the shine is key. Pastry chefs and home bakers alike have found it to be a highlight of confectionery arts.
The Science Behind the Shine
The shine of a mirror glaze comes from a chemical dance. Ingredients like gelatin, sweetened condensed milk, and cocoa powder work together. They create a surface that looks like glass.
Heating, cooling, and controlling the temperature are essential. They help the glaze set with a perfect, mirror-like finish.
Why Mirror Glaze Creates Visual Impact
The mirror glaze’s ability to reflect light is captivating. This chocolate decorating technique makes cakes and desserts look better. It adds elegance and sophistication.
The smooth, glossy finish gives a sense of depth. It makes the patisserie techniques used in its creation stand out.
Professional vs. Home-Made Mirror Glaze
Creating a mirror glaze at home might seem hard, but it’s doable. With the right glazing methods and temperature control, home bakers can match the pros. It’s all about understanding the science and mastering the technique.
“The mirror glaze’s ability to capture and reflect light is what makes it so captivating.”
Essential Ingredients for Chocolate Mirror Glaze
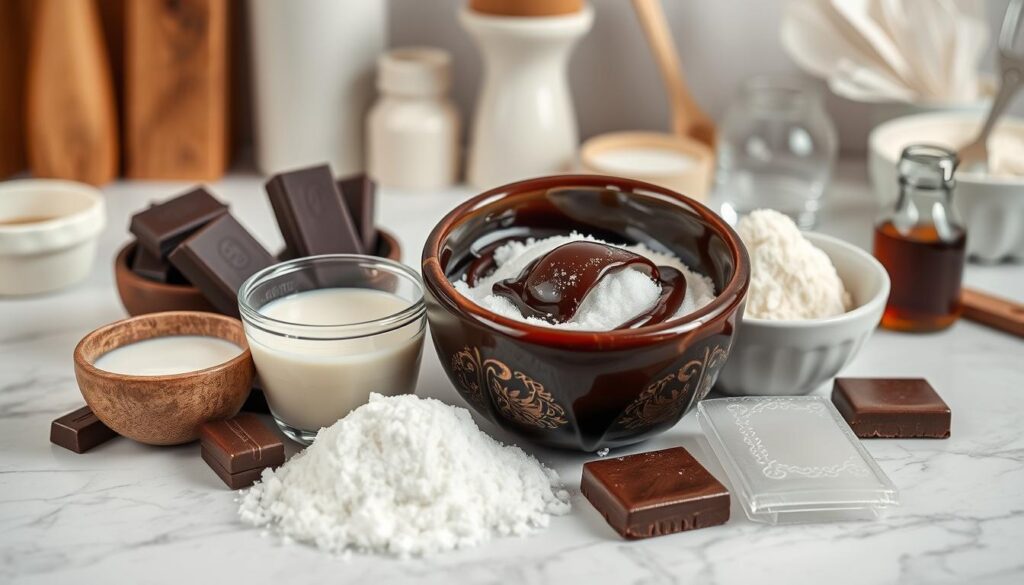
Making the perfect chocolate mirror glaze is an art. It begins with the right ingredients. As passionate patissiers, we know the importance of quality. This ensures a mesmerizing, glossy finish.
At the heart of a mirror glaze is premium chocolate. Choose dark, milk, or white chocolate wisely. High-quality chocolate with lots of cocoa butter is best. It makes the glaze smooth and shiny.
Glucose syrup is also key. It adds structure and shine. This ingredient keeps the glaze smooth and perfect for your patisserie creations.
Gelatin is the final ingredient. It’s what makes the glaze mirror-like. By controlling gelatin, you get a glaze that’s both pourable and firm. This creates a glossy coating that will wow your guests.
| Ingredient | Role in Mirror Glaze |
|---|---|
| High-quality Chocolate | Provides the rich, chocolatey flavor and creates the glossy finish |
| Glucose Syrup | Adds structure, shine, and the perfect consistency to the glaze |
| Gelatin | The key setting agent that enables the mirror-like finish |
With these ingredients, you’re ready to make a stunning chocolate glazing. It will take your desserts to new heights of taste and beauty.
Tools and Equipment You’ll Need
To make a perfect chocolate mirror cake, you need the right tools. You’ll need tools for precise temperature control and special tools for glazing. We’ll show you what you need to make your confectionery glaze shine.
Temperature Control Tools
Getting the shiny chocolate glaze right is all about temperature. You’ll need a top-notch digital thermometer. It helps you keep an eye on the temperature during cooking and cooling. A laser thermometer is also great for quick, accurate readings.
Glazing and Pouring Equipment
For a pro-looking chocolate mirror cake, smooth application is key. Use an offset spatula or pastry scraper to spread the confectionery glaze evenly. A clear glass bowl or stainless steel saucepan is perfect for checking the glaze’s temperature and consistency as you pour.
Surface Preparation Materials
To get that mirror shine, your cake surface must be smooth. Get acetate cake collars or clear acetate sheets for a clean base. Sandpaper or a cake leveler can also help level your surface.
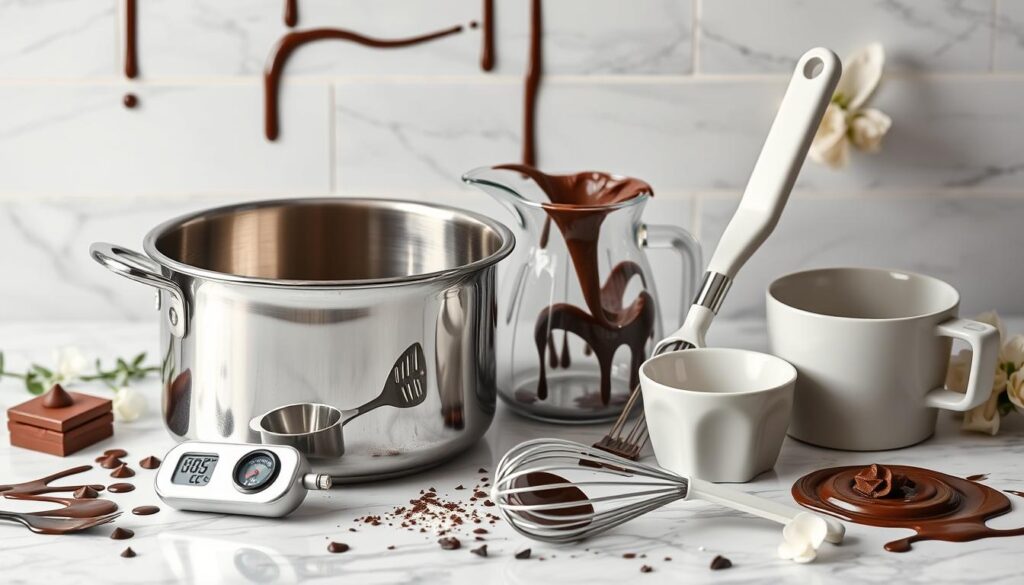
With the right tools, you’re ready to make a stunning chocolate mirror cake with a perfect shiny chocolate glaze. Now, let’s get into the recipe to make your baking dreams come true.
Step-by-Step Chocolate Mirror Glaze Recipe
Learn how to make a stunning chocolate mirror glaze. It will change your cakes and desserts. We’ll show you how to get the perfect mix of dessert toppings, pastry glazes, and chocolate ganache. This will give you a flawless chocolate coating and mirror glaze.
- Start by melting high-quality chocolate in a double boiler or microwave. Stir often until it’s smooth and creamy.
- In another saucepan, mix gelatin, water, and sugar. Whisk until the gelatin dissolves completely.
- Add the gelatin mixture to the melted chocolate slowly. Stir constantly to get a glossy, well-blended mirror glaze recipe.
- Let the glaze cool a bit. Watch the temperature closely to keep it perfect for pouring.
- Get your cake or dessert ready. Make sure the surface is smooth and even for a perfect finish.
- Pour the chocolate mirror glaze slowly and evenly over the surface. Let it drip down the sides for a stunning look.
With this guide, you can make professional-quality chocolate mirror glaze at home. It will take your baked goods to a new level of elegance and beauty.
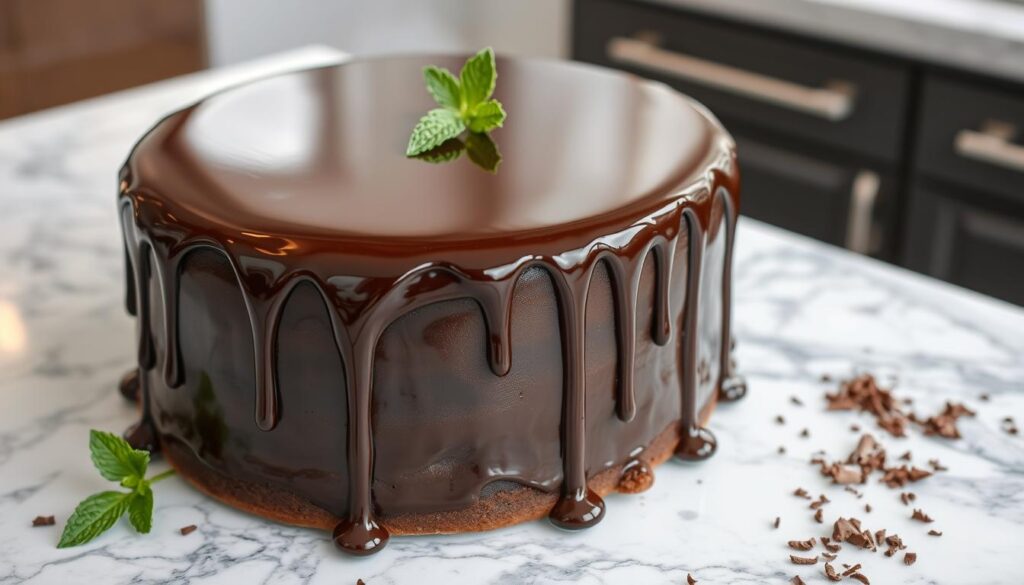
“The secret to a perfect mirror glaze is all in the temperature control and technique. Follow our recipe closely, and you’ll be amazed by the results!”
Temperature Control: The Key to Perfect Consistency
Creating a stunning chocolate mirror glaze for cakes is all about temperature control. Getting the temperature just right can make all the difference. It can turn a messy glaze into a smooth, shiny finish.
Optimal Temperature Ranges
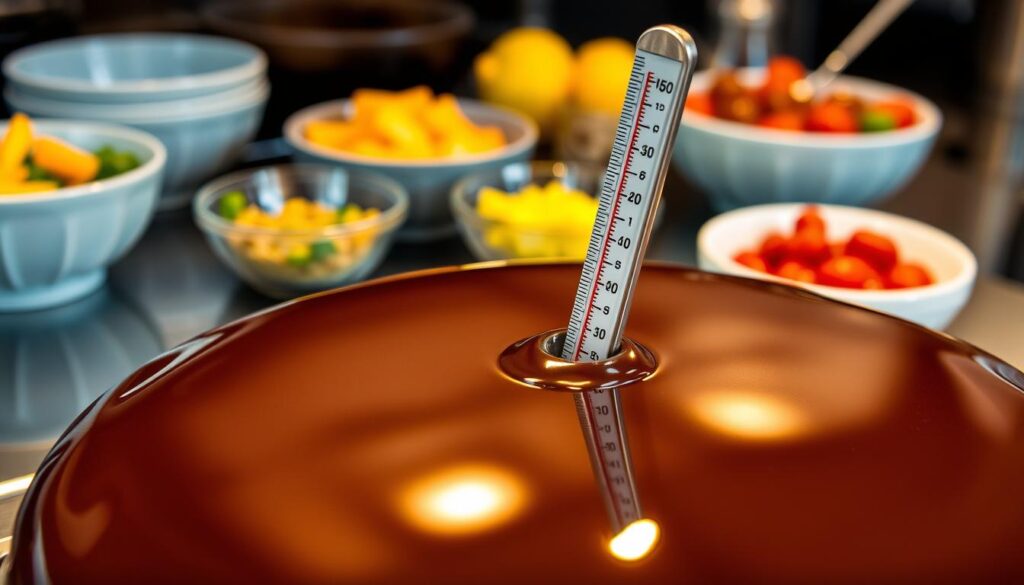
The ideal temperature for pouring the glaze is between 90-95°F (32-35°C). This ensures the glaze flows smoothly and evenly. It gives your cake a flawless, glossy look.
Common Temperature Mistakes
- Pouring the glaze too hot (above 100°F/38°C) makes it too thin and runny. This can cause drips and uneven coverage.
- Pouring it too cold (below 80°F/27°C) makes it thick and hard to spread.
Troubleshooting Temperature Issues
If your glaze isn’t at the right temperature, don’t worry. There are ways to fix it:
- Reheat the glaze in a double boiler or microwave, stirring constantly, until it reaches the right temperature.
- If it’s too thin, let it cool a bit to thicken it.
- To make a thick glaze thinner, add a little water or cream and stir until it’s right.
Mastering temperature control will help you achieve a professional chocolate glaze for cakes with an easy mirror glaze finish. Just keep an eye on the mirror glaze ingredients and poured chocolate glaze temperature for the best results.
Preparing Your Cake for Glazing
Before you can get that stunning shiny cake glaze or pâtisserie glaze look, your cake needs to be ready. It’s important to make sure your cake is perfect for your mirror glaze cake or chocolate pour-over glaze. This will make your cake look flawless.
Here are the key steps to prepare your cake for glazing:
- Achieve a Smooth Surface: Level the top of your cake and smooth out any bumps. This ensures the mirror glaze spreads evenly.
- Chill Your Cake: Refrigerate your cake for at least 2 hours. The cold helps the shiny cake glaze set fast, giving a sleek finish.
- Apply a Crumb Coat: Spread a thin layer of frosting or ganache over the cake. This “crumb coat” seals in crumbs and prepares the surface for the pâtisserie glaze.
- Chill Again: Put the crumb-coated cake back in the fridge for 30 minutes to 1 hour. This makes the coating firm, ready for the chocolate pour-over glaze.
By carefully preparing your cake, you’ll have the perfect base for your mirror glaze cake. You’ll impress everyone with your flawless, glossy masterpiece!
Application Techniques for a Flawless Finish
To get a stunning mirror glaze on your chocolate cake, it’s not just about the recipe. You need to master the application techniques for a smooth, glossy finish. This will wow your guests. Let’s explore the professional methods to make your cakes look like they’re from a French patisserie.
Pouring Methods
The pouring method is crucial. Use a ladle or small pitcher to slowly pour the glaze on the cake’s center. Let it flow over the sides for even coverage and to avoid air bubbles or drips.
Coverage Techniques
- Tilt the cake stand to guide the glaze evenly over the edges for a seamless look.
- Use a small offset spatula to gently smooth the glaze and fill in any gaps or thin spots.
- Consider chilling the cake briefly before glazing to help the glaze set more quickly and achieve a flawless finish.
Edge Treatment Tips
- Run a sharp knife or offset spatula along the edges of the cake to create clean, crisp lines.
- For a professional touch, use a gently heated knife or spatula to smooth and refine the edges of the glaze.
- Avoid over-handling the glazed cake, as this can cause the glaze to become uneven or develop unsightly drips.
Mastering these chocolate cake decorating techniques will make your glazing skills as good as a french patisserie. With practice, you’ll get better at pouring and smoothing for mirror glaze perfection.
Troubleshooting Common Mirror Glaze Issues
Creating a perfect chocolate mirror glaze can be tricky. But don’t worry, we’re here to help. We’ll tackle common problems like bubbles, uneven surfaces, and the wrong consistency. With our tips, your mirror glaze will shine every time.
Bubble Troubles
Unwanted bubbles in your mirror glaze often come from air in the mix. To avoid this, gently fold your ingredients instead of stirring hard. Strain the glaze through a fine mesh sieve before pouring to remove bubbles.
Uneven Surfaces
An uneven surface can be due to bad temperature control or uneven application. Ensure your glaze is at the right temperature. Apply it in thin, even layers for a perfect finish. Gently tapping the glazed cake can also smooth out any bumps.
Inconsistent Consistency
Issues with the glaze’s thickness or thinness usually stem from temperature problems. A thick glaze might be from overcooking, while a runny one means it’s too cold. Check our temperature guidelines to get it just right.
With these tips, you’re on your way to mastering chocolate mirror glaze. Your cakes will impress everyone, every time.
Color and Design Variations
Take your chocolate mirror glaze to the next level by exploring color and design. No more plain, monochrome finishes. With creativity, we can turn our cakes into stunning art.
Creating marbled effects is a captivating technique. By mixing and swirling different mirror glaze colors, we get a unique pattern. It looks like natural stone or precious gems. This adds interest and shows off our confectionery arts skills.
The ombré gradient is another striking option. It shows a smooth transition from one color to another. You can do this vertically, horizontally, or in a radial pattern. The result is a cake that grabs everyone’s attention.
Want to push your baking techniques and glazing methods even further? Try bold colors, intricate designs, or edible chocolate decorating elements. The only limit is your imagination and creativity.
“The true art of mirror glaze lies in its ability to transform a simple cake into a captivating, visually stunning masterpiece.”
Whether you’re experienced in patisserie techniques or just starting, let your creativity shine. Create cakes that will amaze your guests.
Storage and Make-Ahead Tips
Storing and planning ahead are crucial for keeping your chocolate mirror glaze fresh. We’ll look at the best ways to store leftover glaze and keep your cakes looking great.
Proper Storage Methods
To keep your glaze’s smooth, shiny look, store it right. Put any extra glaze in an airtight container and chill it. This stops the glaze from drying out and losing its shine. When you’re ready to use it again, just heat it up following the next steps.
Shelf Life Guidelines
Your chocolate mirror glaze can stay good for up to a week in the fridge. But, watch its consistency and look. If it gets thick or dull, it’s time to make a new batch.
Reheating Instructions
Warming up your chilled glaze is simple. Just put the container in the microwave or a double boiler. Heat it, stirring often, until it’s smooth and ready to pour. Don’t overheat, as this can ruin the glaze’s shine.
FAQ
What is a chocolate mirror glaze?
A chocolate mirror glaze is a shiny, glossy coating for cakes and desserts. It gives a smooth, mirror-like finish.
What are the key ingredients in a chocolate mirror glaze?
The main ingredients are high-quality chocolate, glucose syrup, and gelatin. They create the perfect shine and consistency.
How does the temperature affect the mirror glaze?
Temperature control is key for the right consistency. The glaze must be poured at the right temperature for a flawless finish.
What tools and equipment do I need to make a mirror glaze?
You’ll need a digital thermometer, an offset spatula, and a pouring pitcher. Also, a smooth surface to work on.
How do I prepare my cake for the mirror glaze application?
First, make sure the cake surface is smooth and level. Trim and level the cake, apply a crumb coat, and chill it. This prepares it for the glaze.
What are some common issues with mirror glazes and how can I troubleshoot them?
Issues like bubbles and uneven surfaces can happen. Adjust the temperature or ingredient ratios to fix these problems.
Can I customize the color and design of my chocolate mirror glaze?
Yes, you can customize the glaze’s color and design. Use food coloring for marbled or ombré effects, or experiment with pouring techniques.
How do I store and reheat leftover mirror glaze?
Store the glaze in an airtight container in the fridge for up to a week. Reheat it gently in the microwave or on the stovetop.
