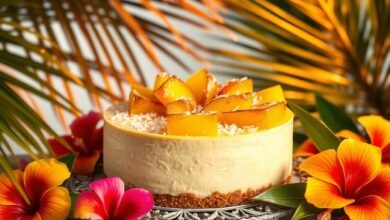
Raw Cheesecake: Date & Oat Crust with Coconut Filling
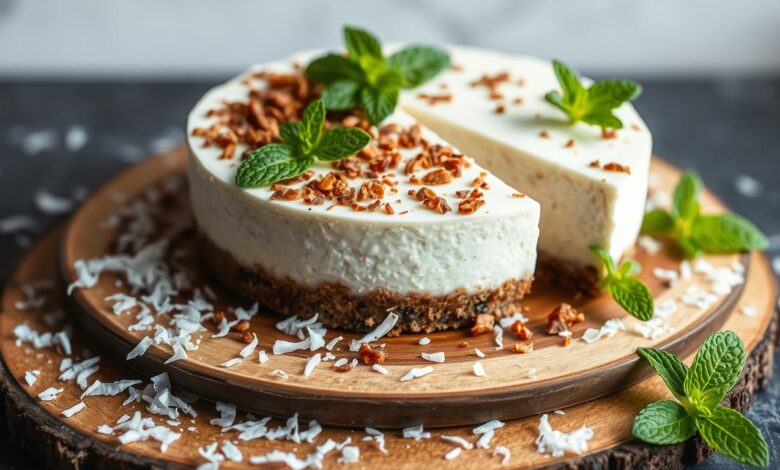
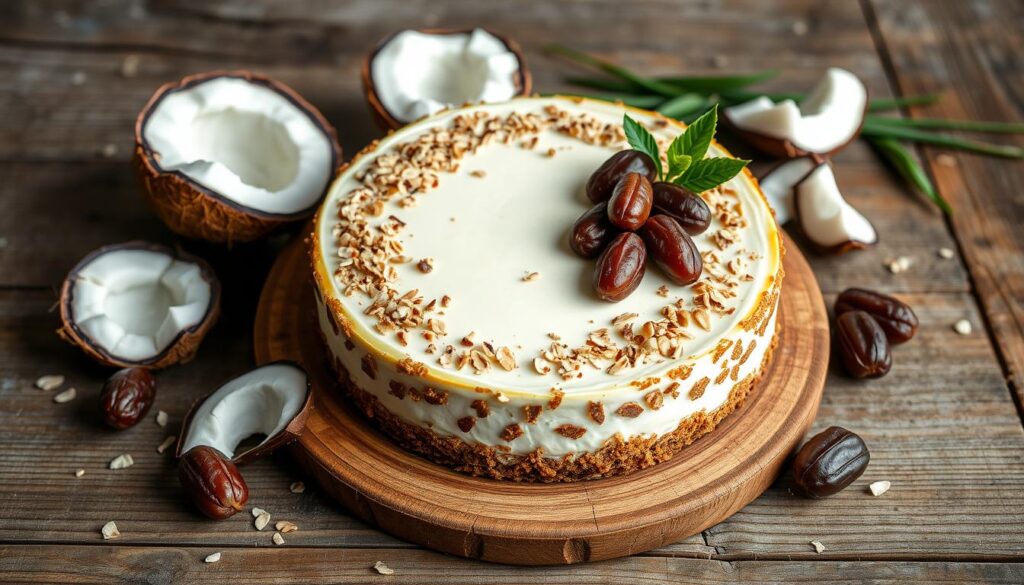
Try our raw cheesecake recipe for a healthy dessert. It has a date and oat crust and a creamy coconut filling. Unlike baked cheesecakes, this one is made without an oven. It’s great for those who care about their health.
This cheesecake is made with Medjool dates, rolled oats, and coconut. It’s sweet, crunchy, and creamy. It’s perfect for vegans, gluten-free, or paleo diets. It’s delicious and healthy.
Key Takeaways
- Discover the health benefits of raw desserts and their environmental impact.
- Learn the essential ingredients for creating a plant-based cheesecake.
- Master the perfect date and oat crust base and creamy coconut filling.
- Explore flavor variations and creative toppings to customize your raw cheesecake.
- Understand storage and serving recommendations for optimal texture and freshness.
Why Raw Cheesecakes Are Taking Over Traditional Desserts
Raw cheesecakes are now a big hit in the world of sweet treats. They are loved by those who care about their health, offering a tasty choice over traditional baked desserts. Let’s look at why raw cheesecakes are so popular and what makes them great.
Health Benefits of Raw Desserts
Raw cheesecakes are made with ingredients that are good for you. They use vegan desserts like raw cashews, coconut, and dates instead of bad stuff. This makes them a healthier option, full of vitamins and minerals.
Environmental Impact of No-Bake Treats
Baking can hurt the planet, using a lot of energy and wasting food. Raw cheesecakes don’t need to be baked, which is better for the environment. They’re a greener choice for those who care about the planet.
Rising Popularity Among Health-Conscious Consumers
More and more people want plant-based desserts that are good for them. Raw cheesecakes fit the bill, offering a tasty treat that’s also healthy. They’re perfect for anyone looking for a better dessert option.
“Raw cheesecakes offer a decadent experience without the heavy, processed ingredients found in traditional baked desserts. It’s a game-changer for those seeking a more wholesome treat.”
The love for raw cheesecakes shows how people’s tastes are changing. They prefer desserts made with natural ingredients. This makes plant-based desserts the new favorite in the world of sweet treats.
Essential Ingredients for Your Plant-Based Cheesecake
Creating a delicious raw cheesecake starts with the right ingredients. The date crust and the creamy coconut filling are key. Each part is crucial for the perfect taste and texture. Let’s explore what you need to make your plant-based dessert shine.
The crust is the base of our cheesecake. It’s made from dates, oats, and oilseeds. Dates add sweetness and help the crust stick together. Oats and oilseeds like almonds, cashews, or coconut give it crunch and a nutty smell.
The filling is where the magic happens. It’s made with coconut and cashews. Coconut makes it creamy and silky, while cashews add a nutty taste and help it set.
- Dates: Provide natural sweetness and binding power for the crust
- Oats: Contribute texture and crunch to the crust
- Oilseeds (almonds, cashews, coconut): Add nutty flavor and crunch to the crust
- Coconut: Creates a creamy, luscious filling
- Cashews: Enhance the creaminess and texture of the filling
With these ingredients, you’re set to make a tasty raw cheesecake. It will delight your taste buds and fulfill your desire for a healthier dessert.
Creating the Perfect Date and Oat Crust Base
Making a tasty date-oat crust is key to a great raw cheesecake. We’ll show you how to pick and prepare the best ingredients. Plus, we’ll cover how to get the right texture and consistency.
Proper Date Selection and Preparation
Choosing the right dates is important for the crust’s taste and feel. Look for plump, soft Medjool dates without blemishes and a sweet caramel taste. Make sure they’re pitted and soak them in warm water for 30 minutes to soften them before blending.
Oat and Seed Combinations
- For a nutty, hearty crust, mix rolled oats with sunflower, chia, and flax seeds.
- Oats give a strong base, while seeds add crunch and healthy fats to the date-oat crust.
- Try different oat to seed ratios to find your ideal seed-based crust texture.
Texture and Consistency Tips
A great gluten-free dessert crust needs the right mix of stickiness and crumbliness. Blend the date-oat mix in a food processor until it’s well mixed but still a bit coarse. This ensures the crust holds its shape when pressed into the pan.
“The perfect date-oat crust should be just firm enough to support the creamy filling, yet delicate enough to melt in your mouth.”
Follow these tips to make a date-oat crust that’s perfect for a delicious raw cheesecake.
raw cheescake the crast with date and oilseeds and oatmeal and the filling of co
Making a delicious raw cheesecake is all about the crust and filling. We’ll show you how to make a tasty date and oilseed crust. Plus, we’ll guide you through creating a creamy coconut filling that will make your raw cheesecake unforgettable.
Constructing the Date and Oilseed Crust
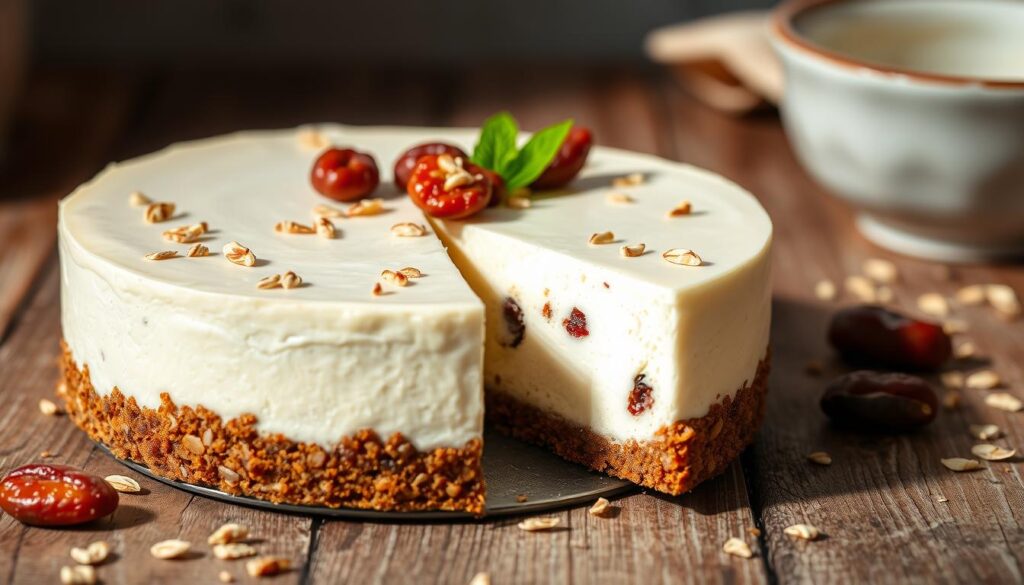
The crust is the base of your raw cheesecake. We have a great recipe for you. Start by soaking dates in warm water for 30 minutes. Then, drain and dry them.
Next, mix the dates with oatmeal and oilseeds like sunflower and pumpkin seeds. Use a food processor to mix until it forms a sticky dough. Press it into your pan to make a solid base.
Whipping up the Creamy Coconut Filling
To make the coconut filling, soak raw cashews in water for a few hours or overnight. Drain and rinse them, then blend with coconut meat, coconut oil, and a bit of maple syrup or your favorite sweetener. This will give you a smooth, creamy filling to pour over your crust and chill.
“The key to a truly remarkable raw cheesecake is in the balance of the crust and filling. Get it just right, and you’ll have a dessert that will have your guests raving.”
Follow these steps to make a stunning raw cheesecake. It will highlight the natural flavors of dates, oilseeds, oatmeal, and coconut. Enjoy making it and get ready to enjoy the delicious outcome!
Mastering the Creamy Coconut Filling
Making a creamy coconut filling is crucial for a great raw cheesecake. We’ll show you how to get it just right. This filling is the highlight of any dairy-free or plant-based dessert.
Achieving the Right Consistency
The coconut filling should be smooth and rich. To start, soak the coconut meat in water for hours or overnight. Then, drain it and blend until it’s creamy and smooth.
Blend the coconut until it’s velvety. This might take a few minutes. Add a bit of soaking liquid or plant-based milk to get the right thickness.
Natural Sweetener Options
- Medjool dates: Blend pitted Medjool dates with the coconut filling for a naturally sweet and caramel-like flavor.
- Maple syrup: A touch of pure maple syrup can add a delightful depth of flavor to the coconut filling.
- Vanilla extract: A splash of pure vanilla extract can enhance the creaminess and aroma of the coconut filling.
Try different natural sweeteners to find the perfect sweetness for your coconut filling, plant-based filling, and dairy-free cheesecake recipes.
“The key to a truly remarkable raw cheesecake lies in the coconut filling. With the right techniques and natural sweeteners, you can create a filling that’s both indulgent and guilt-free.”
Tips for Achieving the Perfect Texture and Setting
Making the perfect no-bake cheesecake is a delicate task. But with a few simple tips, you can get it just right. Whether you’re making a plant-based or vegan cheesecake, these tips will help you achieve perfection.
For a smooth, creamy texture, make sure your ingredients are chilled. Refrigerate your nut-based filling and date-oat crust separately for at least 2 hours, or overnight. This prevents the filling from getting too soft and the crust from crumbling.
- Chill all components separately before assembling
- Aim for a minimum of 2 hours of chilling time, up to overnight
- Use the right equipment, like a food processor and high-powered blender, to achieve the perfect texture
Also, focus on the filling’s consistency. It should be thick and creamy but not too dense. Blend the coconut cream, nut butter, and sweetener until smooth. Then, gently fold in any mix-ins. Avoid overmixing to prevent a grainy or dense texture.
“The key to a perfectly set no-bake cheesecake is patience. Allow ample time for the dessert to fully chill and set before serving.”
Lastly, be patient and let your cheesecake chill for at least 4 hours, or overnight. This allows the coconut-based filling to firm up and the crust to bind. With these tips, you’ll create stunning plant-based and vegan cheesecakes that will wow your guests.
Flavor Variations and Creative Toppings
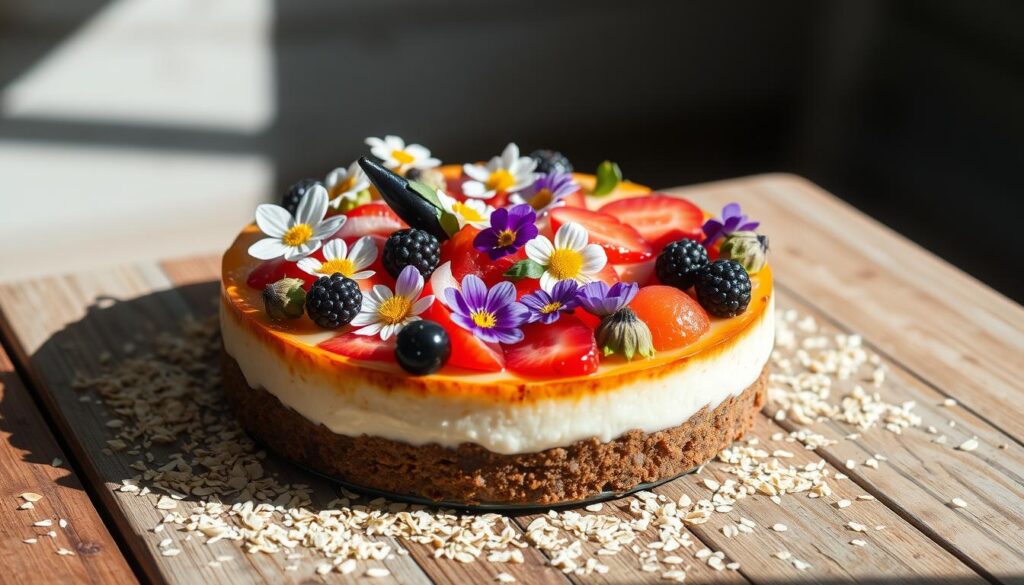
Our raw cheesecake offers endless flavor and topping options. You can choose from sweet, tangy, or a mix of both. Explore oilseed toppings, plant-based desserts, and vegan desserts to customize your cheesecake.
Seasonal Fruit Options
Fresh seasonal fruits pair perfectly with our coconut filling. Think berries, stone fruits, pineapple, and mango on top. These plant-based toppings add flavor and sweetness.
Nut and Seed Garnishes
For crunch, try nuts and seeds on your cheesecake. Almonds, walnuts, or pecans contrast the creamy base. Chia seeds, hemp hearts, or toasted coconut add a special oilseed topping touch.
“Creativity knows no bounds when it comes to customizing your raw cheesecake. Let your imagination run wild!”
Looking for a tropical twist or a nutty crunch? The choices are endless. Let our raw cheesecake take you on a flavor adventure.
Storage and Serving Recommendations
Keeping your homemade raw cheesecake fresh is key. Follow these easy tips to keep your no-bake dairy-free dessert tasty and enjoyable.
Refrigeration and Freezing
Keep your raw cheesecake in the fridge, covered, for up to 5 days. If you want to keep it longer, freeze it for up to 2 months. Just thaw it in the fridge overnight when you’re ready to eat it.
Presentation and Garnishes
Get creative with your raw cheesecake. Top it with fresh fruit, nuts or seeds, or nut butter. Arrange the slices on a platter for a beautiful dessert.
“The secret to a perfectly presented raw cheesecake is in the details. Get creative with your toppings and plating to make each slice a work of art.”
Remember, serve your dairy-free dessert chilled. This lets the flavors and textures come alive. Enjoy every bite and impress your guests.
Troubleshooting Common Raw Cheesecake Issues
Making delicious raw cheesecakes is rewarding but comes with challenges. You might face issues when making plant-based, no-bake desserts. But don’t worry, we’re here to help you solve these problems and make your raw cheesecake dreams come true.
Texture Problems and Solutions
Getting the right texture in raw cheesecakes can be tricky. If it’s too thick or too thin, it can ruin the dessert. To fix this, adjust the nuts, seeds, or coconut in the filling.
Adding more coconut milk or nut butter can make a thick filling thinner. On the other hand, adding more dry ingredients can thicken a runny one.
Setting and Firmness Fixes
Another problem is getting your cheesecake to set and stay firm. This often comes down to the right mix of ingredients and chilling. If it’s not firm, try adding more coconut oil or nut butter.
Also, make sure to chill it for the right amount of time. If needed, pop it in the freezer for a quick firm-up before serving.
Every recipe and ingredient mix is different. So, don’t be afraid to try new things and find what works best for you. With patience and lots of practice, you’ll soon be making amazing raw, vegan, and no-bake cheesecakes.
Make-Ahead and Freezing Instructions
We know you love our raw cheesecake and want to make it ahead of time. Whether it’s for a party or just to have a vegan treat ready, our tips will help. Your plant-based dessert will stay fresh and tasty.
First, let’s talk about making the cheesecake ahead. The crust and filling can be made up to 3 days before. Store them in the fridge separately. Then, just press the crust into your pan, add the coconut filling, and chill until it’s set.
For longer storage, our cheesecake freezes well. Wrap the whole dessert in plastic wrap or foil tightly. This keeps the flavors in and prevents freezer burn. When you’re ready, thaw it in the fridge overnight. It will be perfect, ready for your vegan or plant-based dessert needs.
FAQ
What are the key ingredients in a raw cheesecake?
Raw cheesecakes use dates, oats, and oilseeds like almonds or cashews. They also have a creamy filling from coconut or cashews. These ingredients make a tasty, healthy dessert without baking.
How is a raw cheesecake different from a traditional baked cheesecake?
Raw cheesecakes don’t get baked. They’re made by blending ingredients and chilling them. This makes them creamier and keeps their nutrients.
What are the health benefits of a raw cheesecake?
Raw cheesecakes are healthier than baked ones. They use whole foods and no added sugars, dairy, or inflammatory stuff. They’re great for plant-based, vegan, or gluten-free diets.
How do I make the perfect date and oat crust for a raw cheesecake?
Start with soft dates and mix them with oats and oilseeds. Process until it’s a sticky dough. Press it into the pan and adjust the mix for the right texture.
How do I get the coconut filling for my raw cheesecake to have the right consistency?
Soften coconut meat or cashews in water. Blend them with a bit of soaking liquid until smooth. Adjust the liquid for the perfect consistency.
How long does a raw cheesecake need to chill before serving?
Chill it for 4-6 hours or overnight. This lets the filling set and flavors meld. Freezing it makes it firmer, but thaw it before serving.
Can I customize the flavors of a raw cheesecake?
Yes! You can mix in fruits, spices, nuts, or chocolate. It’s a great way to try new flavors.
How long can a raw cheesecake be stored, and what is the best way to store it?
Store it in the fridge for 5-7 days. Freeze it for up to 2-3 months. Thaw it in the fridge overnight. Keep it covered and at the right temperature.
